Operation Market Garden
Chapter 37
“Out of ammunition. God save the King”
17 - 25 September, 1944
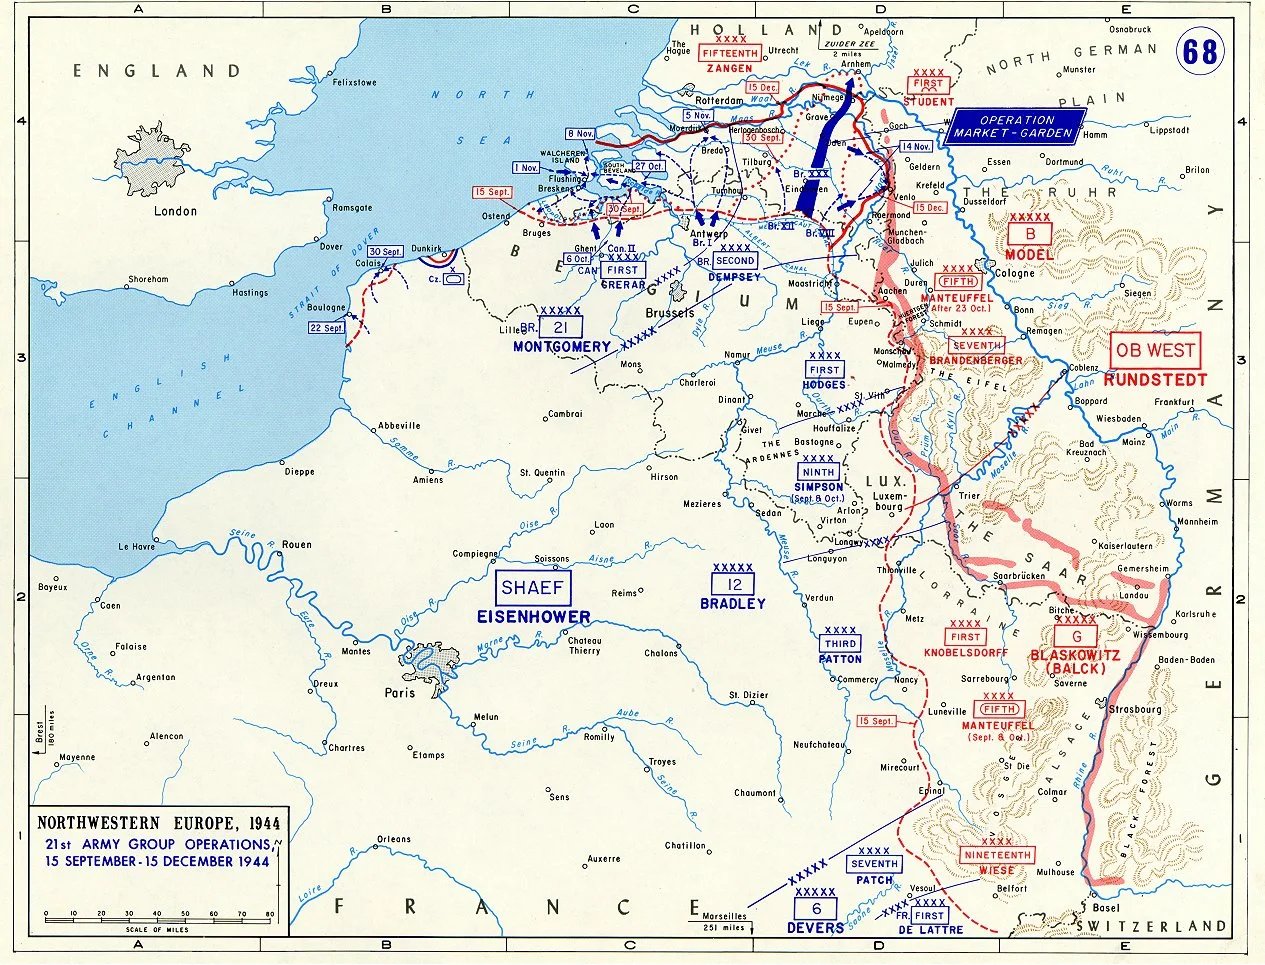
Subsequent to the expulsion of the Wehrmacht from France the Allies began making preparations for their next major thrust: the invasion of Germany itself. Within the Allied command structure certain difficulties existed, chiefly as a result of the clash of the strong personalities amongst the Anglo-American leadership. With resources to be allocated and a direction to be chosen, two competing plans emerged; one championed by the American General Patton for a frontal assault on the Siegfried Line into the Ruhr, and one from British Field Marshal Montgomery for a rapid airborne and armored strike across Holland and into the heartland of the Reich.
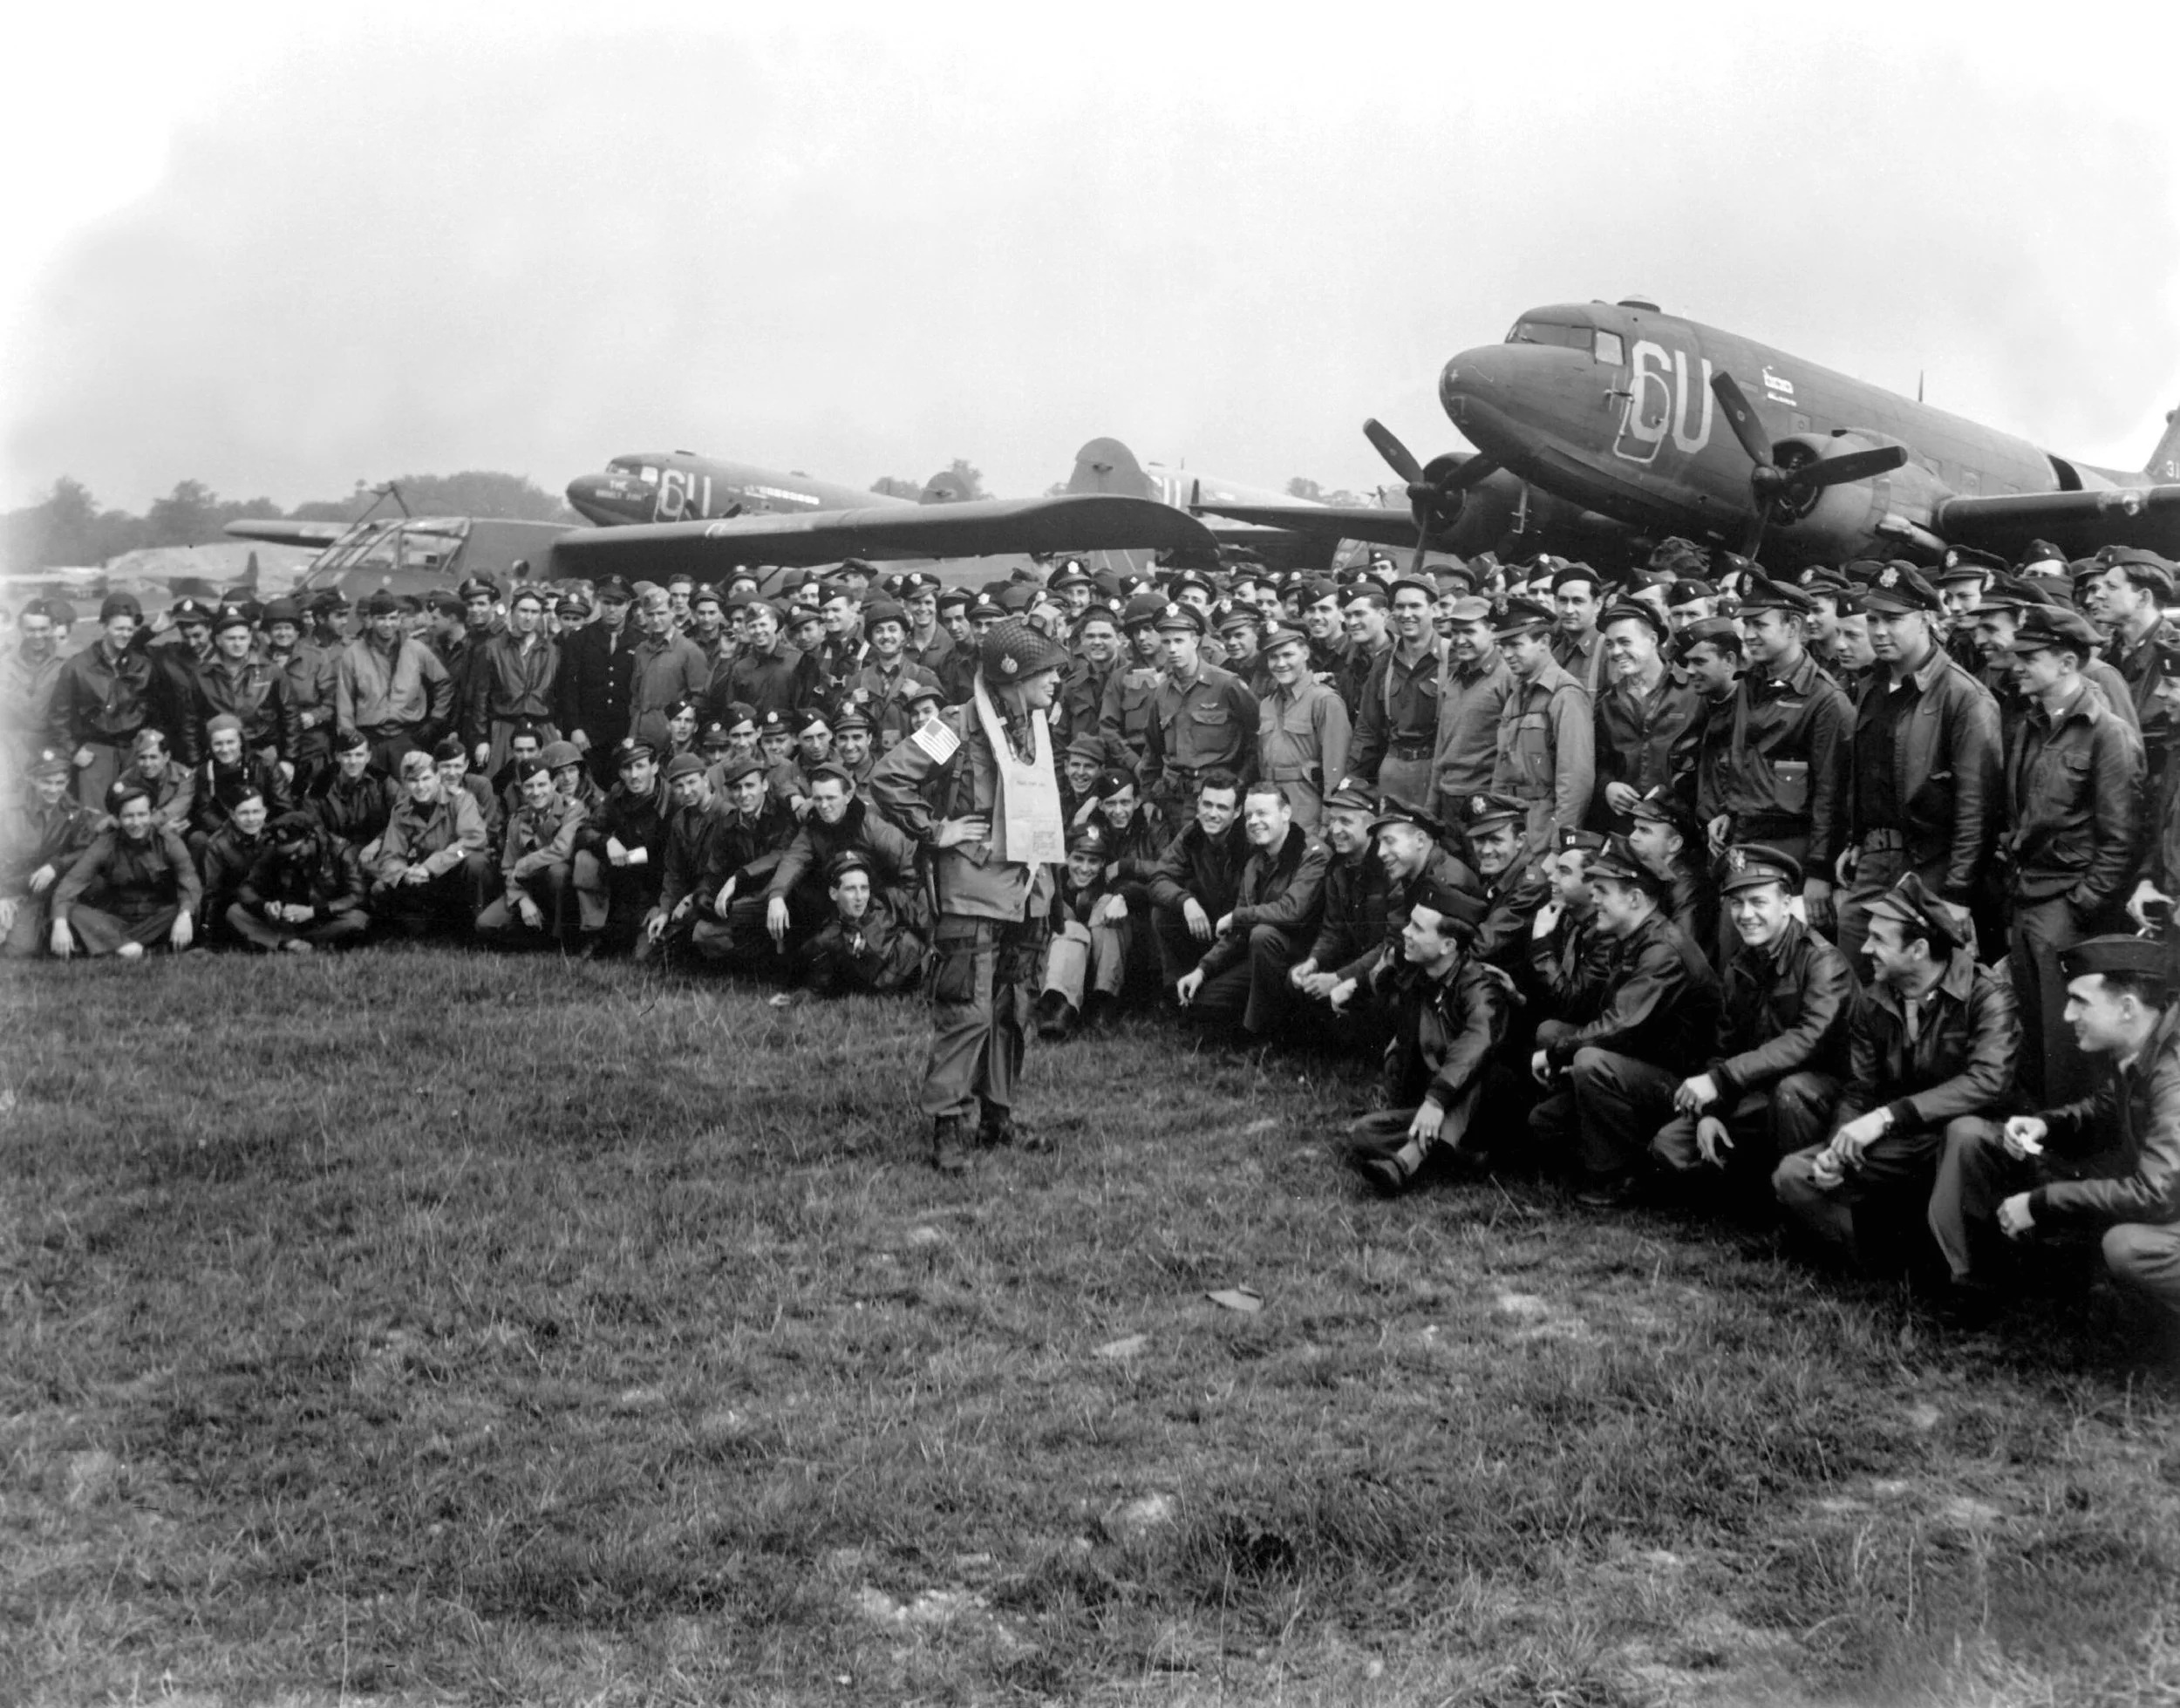
American paratroopers of the 101st Airborne Division are briefed before Market-Garden
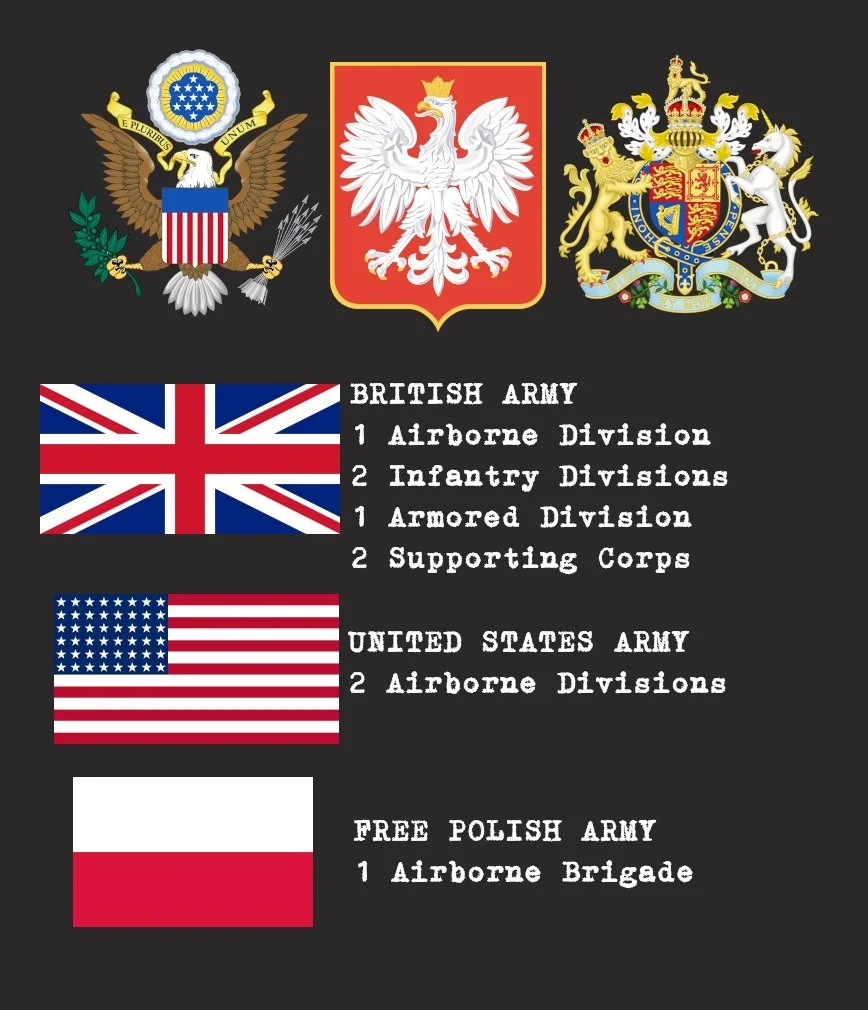
This operation was broken into two distinct segments: Market was a large scale airborne operation intended to utilize American, British and Polish paratroopers to seize the various bridges along the Dutch Highway 69 on a route to the Rhine at Arnhem. This corridor would then be utilized by the ground forces of Garden, with a British armored spearhead thus bypassing the Siegfried Line and penetrating the German industrial heart in the Ruhr. Montgomery, of course, envisioned this ground assault to be led by his own British forces, in turn rankling the American leadership at being relegated to supporting roles.

British Horsa gliders after landing in Holland, as additional paratroopers land around them
The state of collapse the German armed forces appeared to be in following the closure of the Falaise Gap in the late summer had resulted in Allied leadership believing that the war in the west was nearly over, but in reality as the shattered formations had pulled eastward out of France they had been reconstituted, and German leadership was preparing for a defense against a larger Allied force than what was actually available on the continent at that time. Many formations were resting and refitting in the relative safety of the Dutch countryside, positioned along the same route intended for the Garden advance. To top it off, the commander of German forces in the region, Field Marshal Model, was among the top German leaders of the war, with a particular talent for rapidly reorganizing forces after serious defeats such as that faced in France.
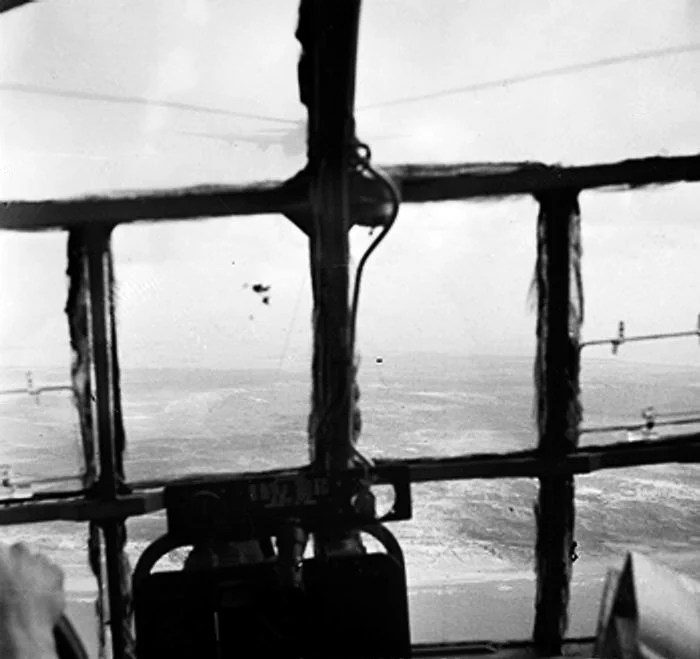
The cockpit view from a glider approaching the Dutch coast
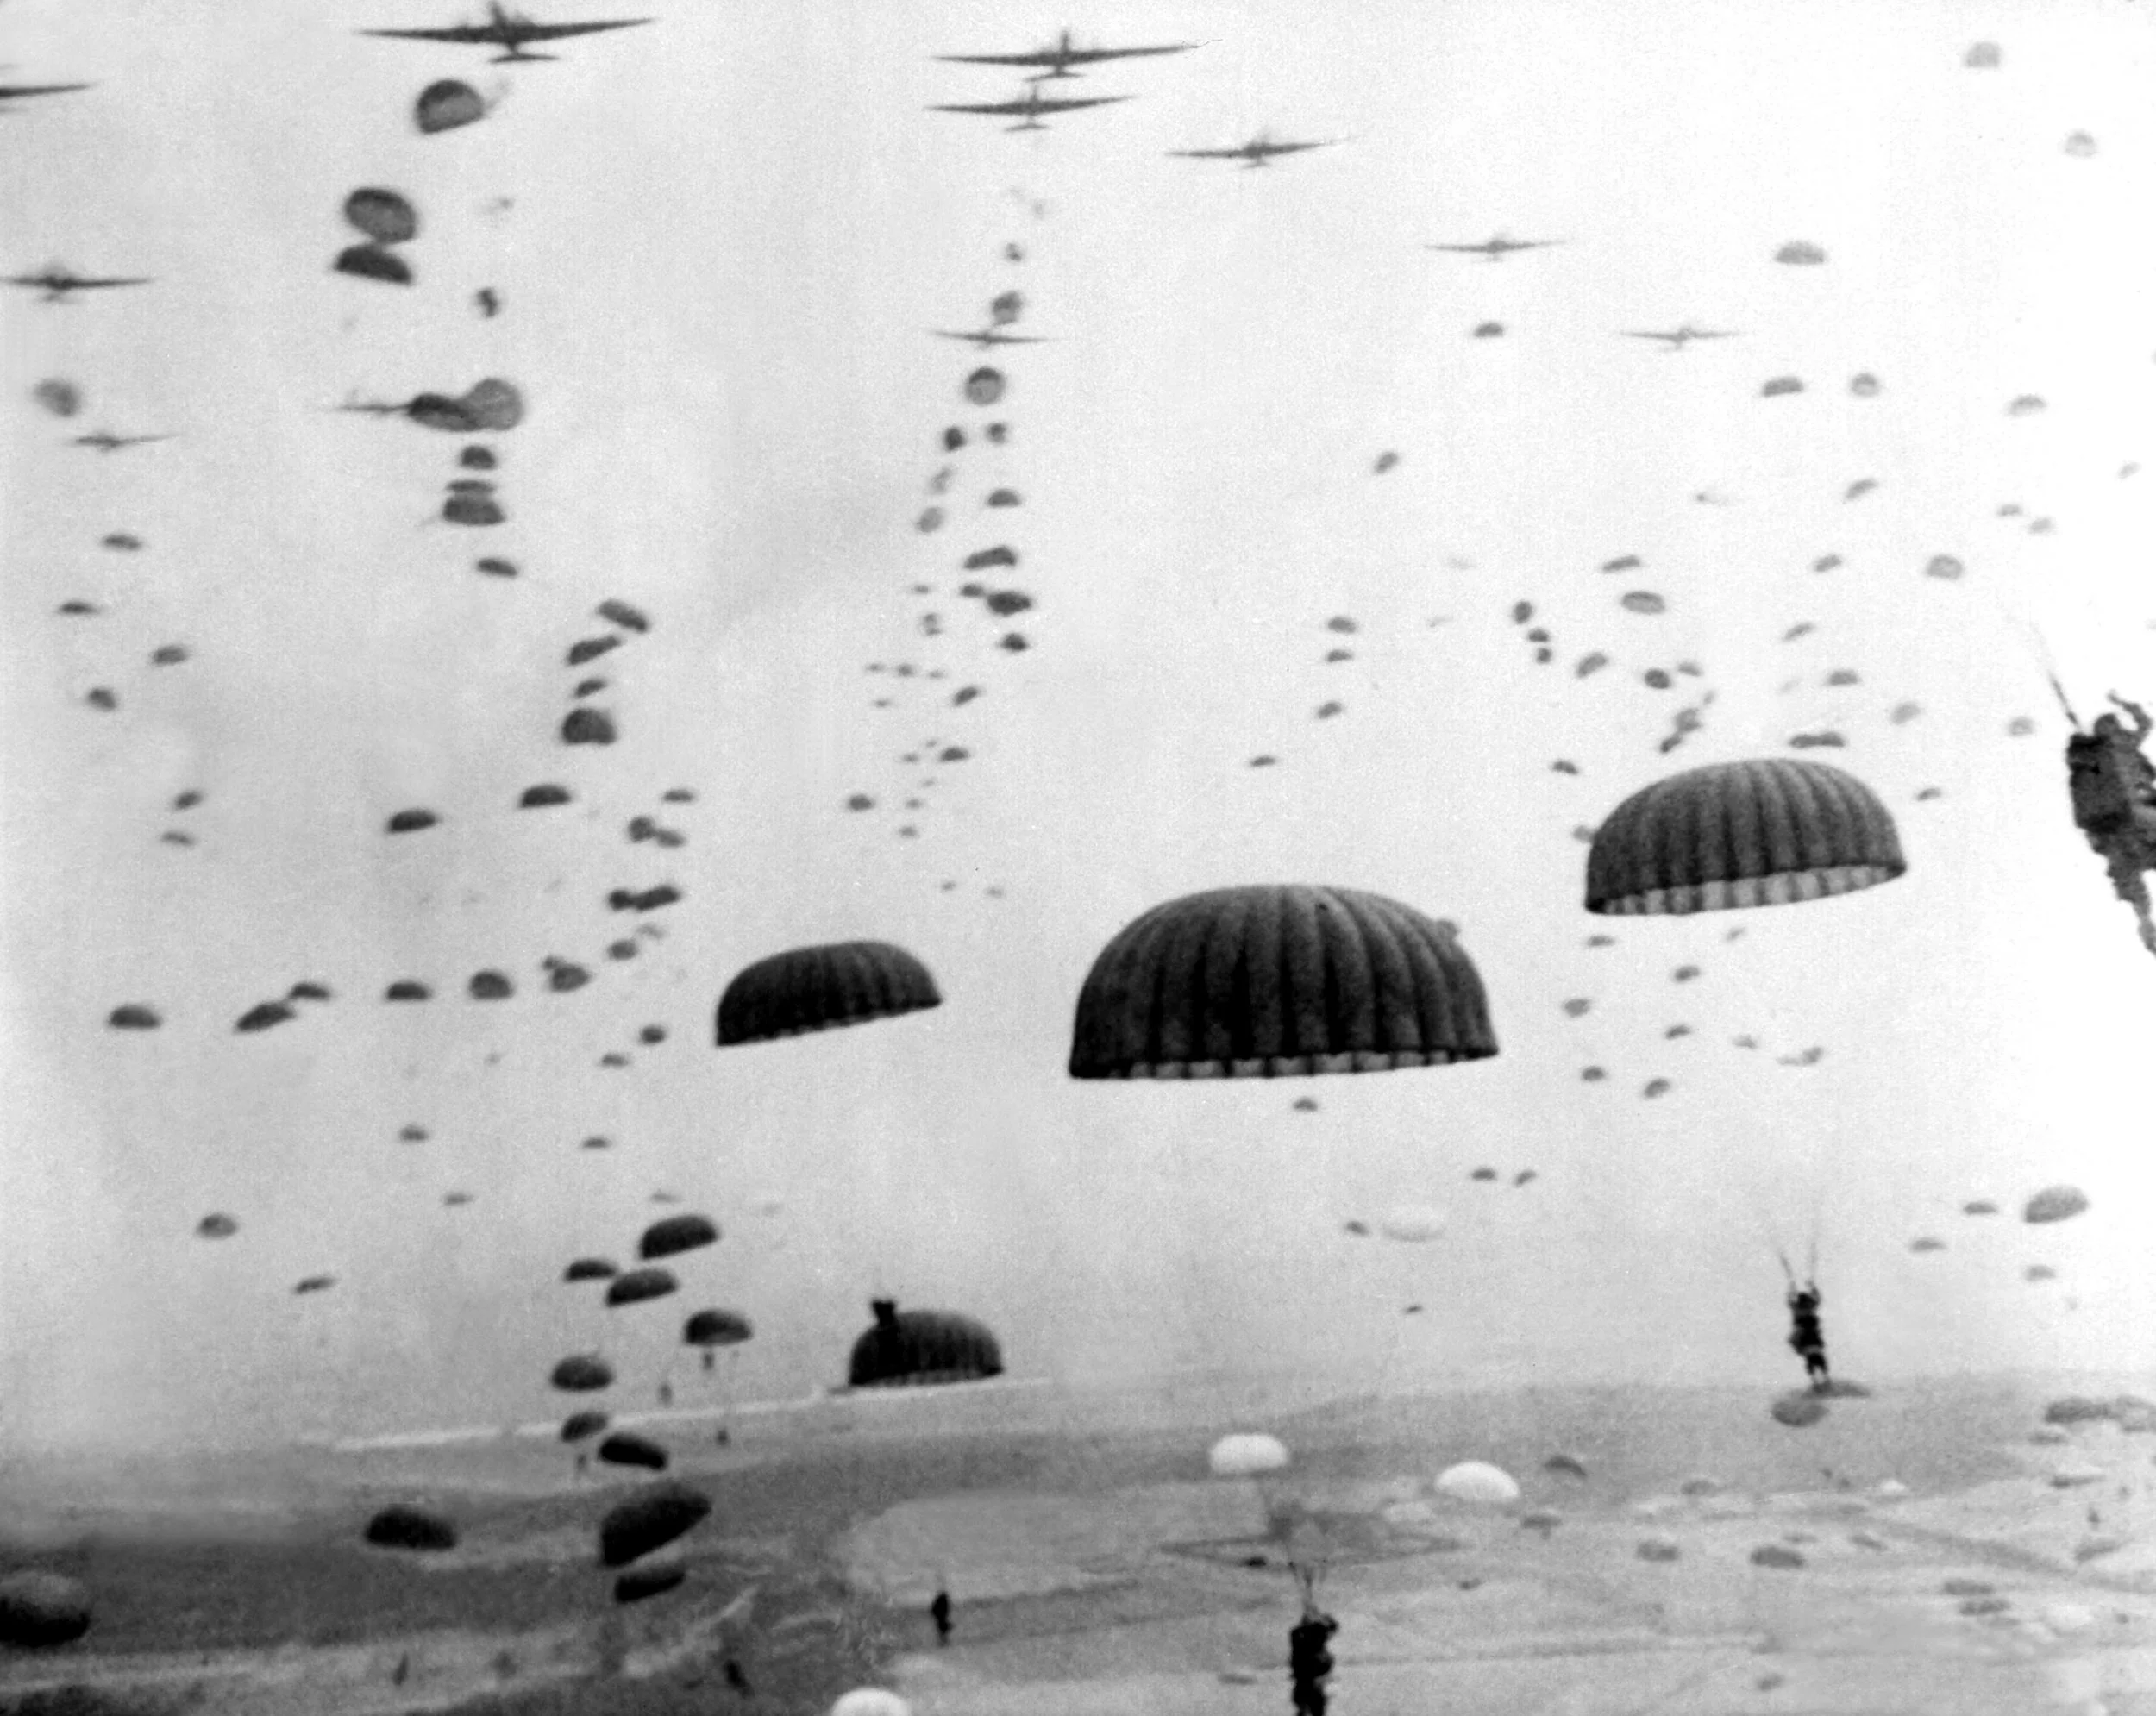
For the airborne phase of the operation, the USAAF and the RAF allocated a vast fleet over 1,500 transport aircraft and over 2,000 gliders , and even this enourmous number would require multiple drops over successive days to support the operation. With relatively little threat of interception by the depleted Luftwaffe, the largest airborne operation in history commenced on 17 September, with Allied paratroopers quickly securing their initial objectives after a successful and accurate afternoon drop. Paratroopers of the US 101st Airborne seized their objectives at the Eindhoven and Veghel river crossings quickly (although the bridge at Son was destroyed by the Germans as the Americans approached), as did the 82nd Airborne at Grave, but the latter ran into difficulty at the large highway bridge over the Waal at Nijmegen, where SS units had moved to secure the span before their arrival.

British paratroopers en route to Arnhem
The British landings at Oosterbeek near Arnhem also encountered confused German response, with Model believing initially that commandos were attempting to abduct him and thus rapidly relocating his Arnhem headquarters in the early phase of the battle. Despite this, he was able to quickly and accurately gauge the situation, and issued emergency orders for all available units to be redeployed to the Arnhem area in order to counter the attack, including powerful SS panzer formations that had been refitting in the area. As the main British force under the command of Lt. Colonel John Frost marched into Arnhem and secured the bridge they found themselves cut off as the Germans consolidated their hold on both sides of the Rhine as well as over the cities of Nijmegen and Arnhem.

American paratroopers inspect a crashed glider
Meanwhile, the tanks of the British XXX Corps began their advance along Highway 69, with heavy air and artillery support. As they approached Eindhoven and the 101st Airborne Division positions on the second day of the operation they found German resistance stiffening, as more and more units were thrown into the line to block their advance. In addition, a traffic jam was beginning to form along the narrow Highway 69, hindering efforts to being up bridging equipment once the British linked up with the 101st by the end of the second day of the operation.
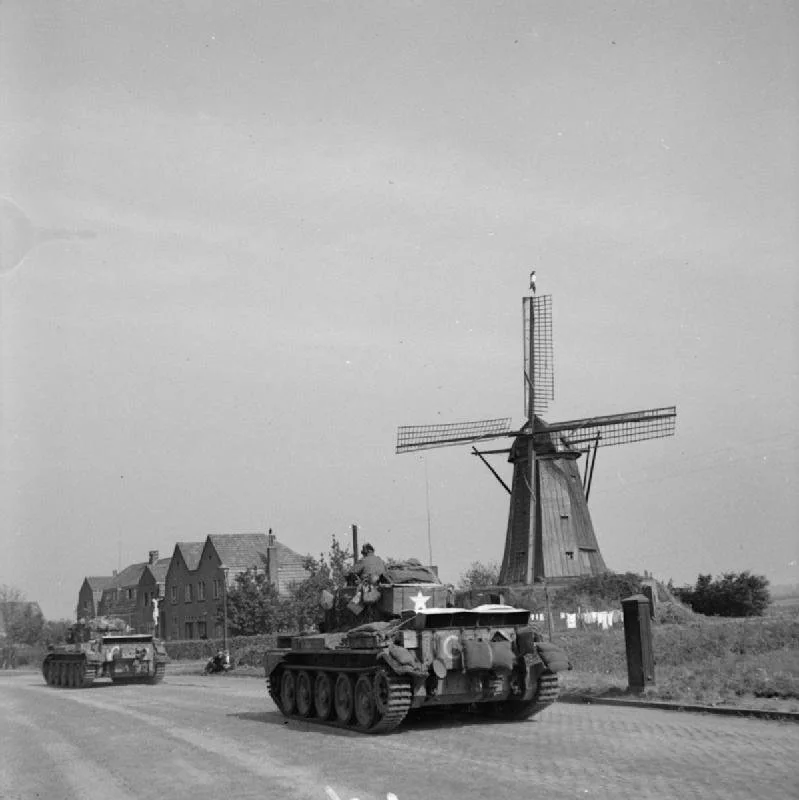
British Cromwell tanks of XXX Corps advancing down Highway 69 toward Nijmegen
Further complicating the matter, the Luftwaffe raided Eindhoven that night, with the closely packed convoys making for easy targets. The Allied forces had been unable to move any flak units up to the city, and the Germans were able to operate unmolested over the city. The results were catastrophic; with over two-hundred civilians killed, the city center leveled, and the vital roadways clogged with rubble and wrecked vehicles.

American paratroopers near Eindhoven observe burning supply vehicles along Highway 69
On the morning of the third day (19 September), forward elements of XXX Corps linked with the 82nd Airborne Division in their drop zones along the Waal. Backed by British tanks, the American paratroopers made another assault on the Germans holding the bridge at Nijmegen, but this too was repulsed. Faced with the prospect of a protracted battle for the bridge while the British paratroopers in Arnhem were desperate for relief, it was decided that an assault crossing of the Waal was required in order to outflank the defenders. This, however was delayed due to difficulties in getting the boats to the front, and the operation had to be delayed until the following day. Despite the successful capture of Nijmegen Bridge on 20 September, the situation had by this time become critical for the men trapped on the Arnhem bridge.
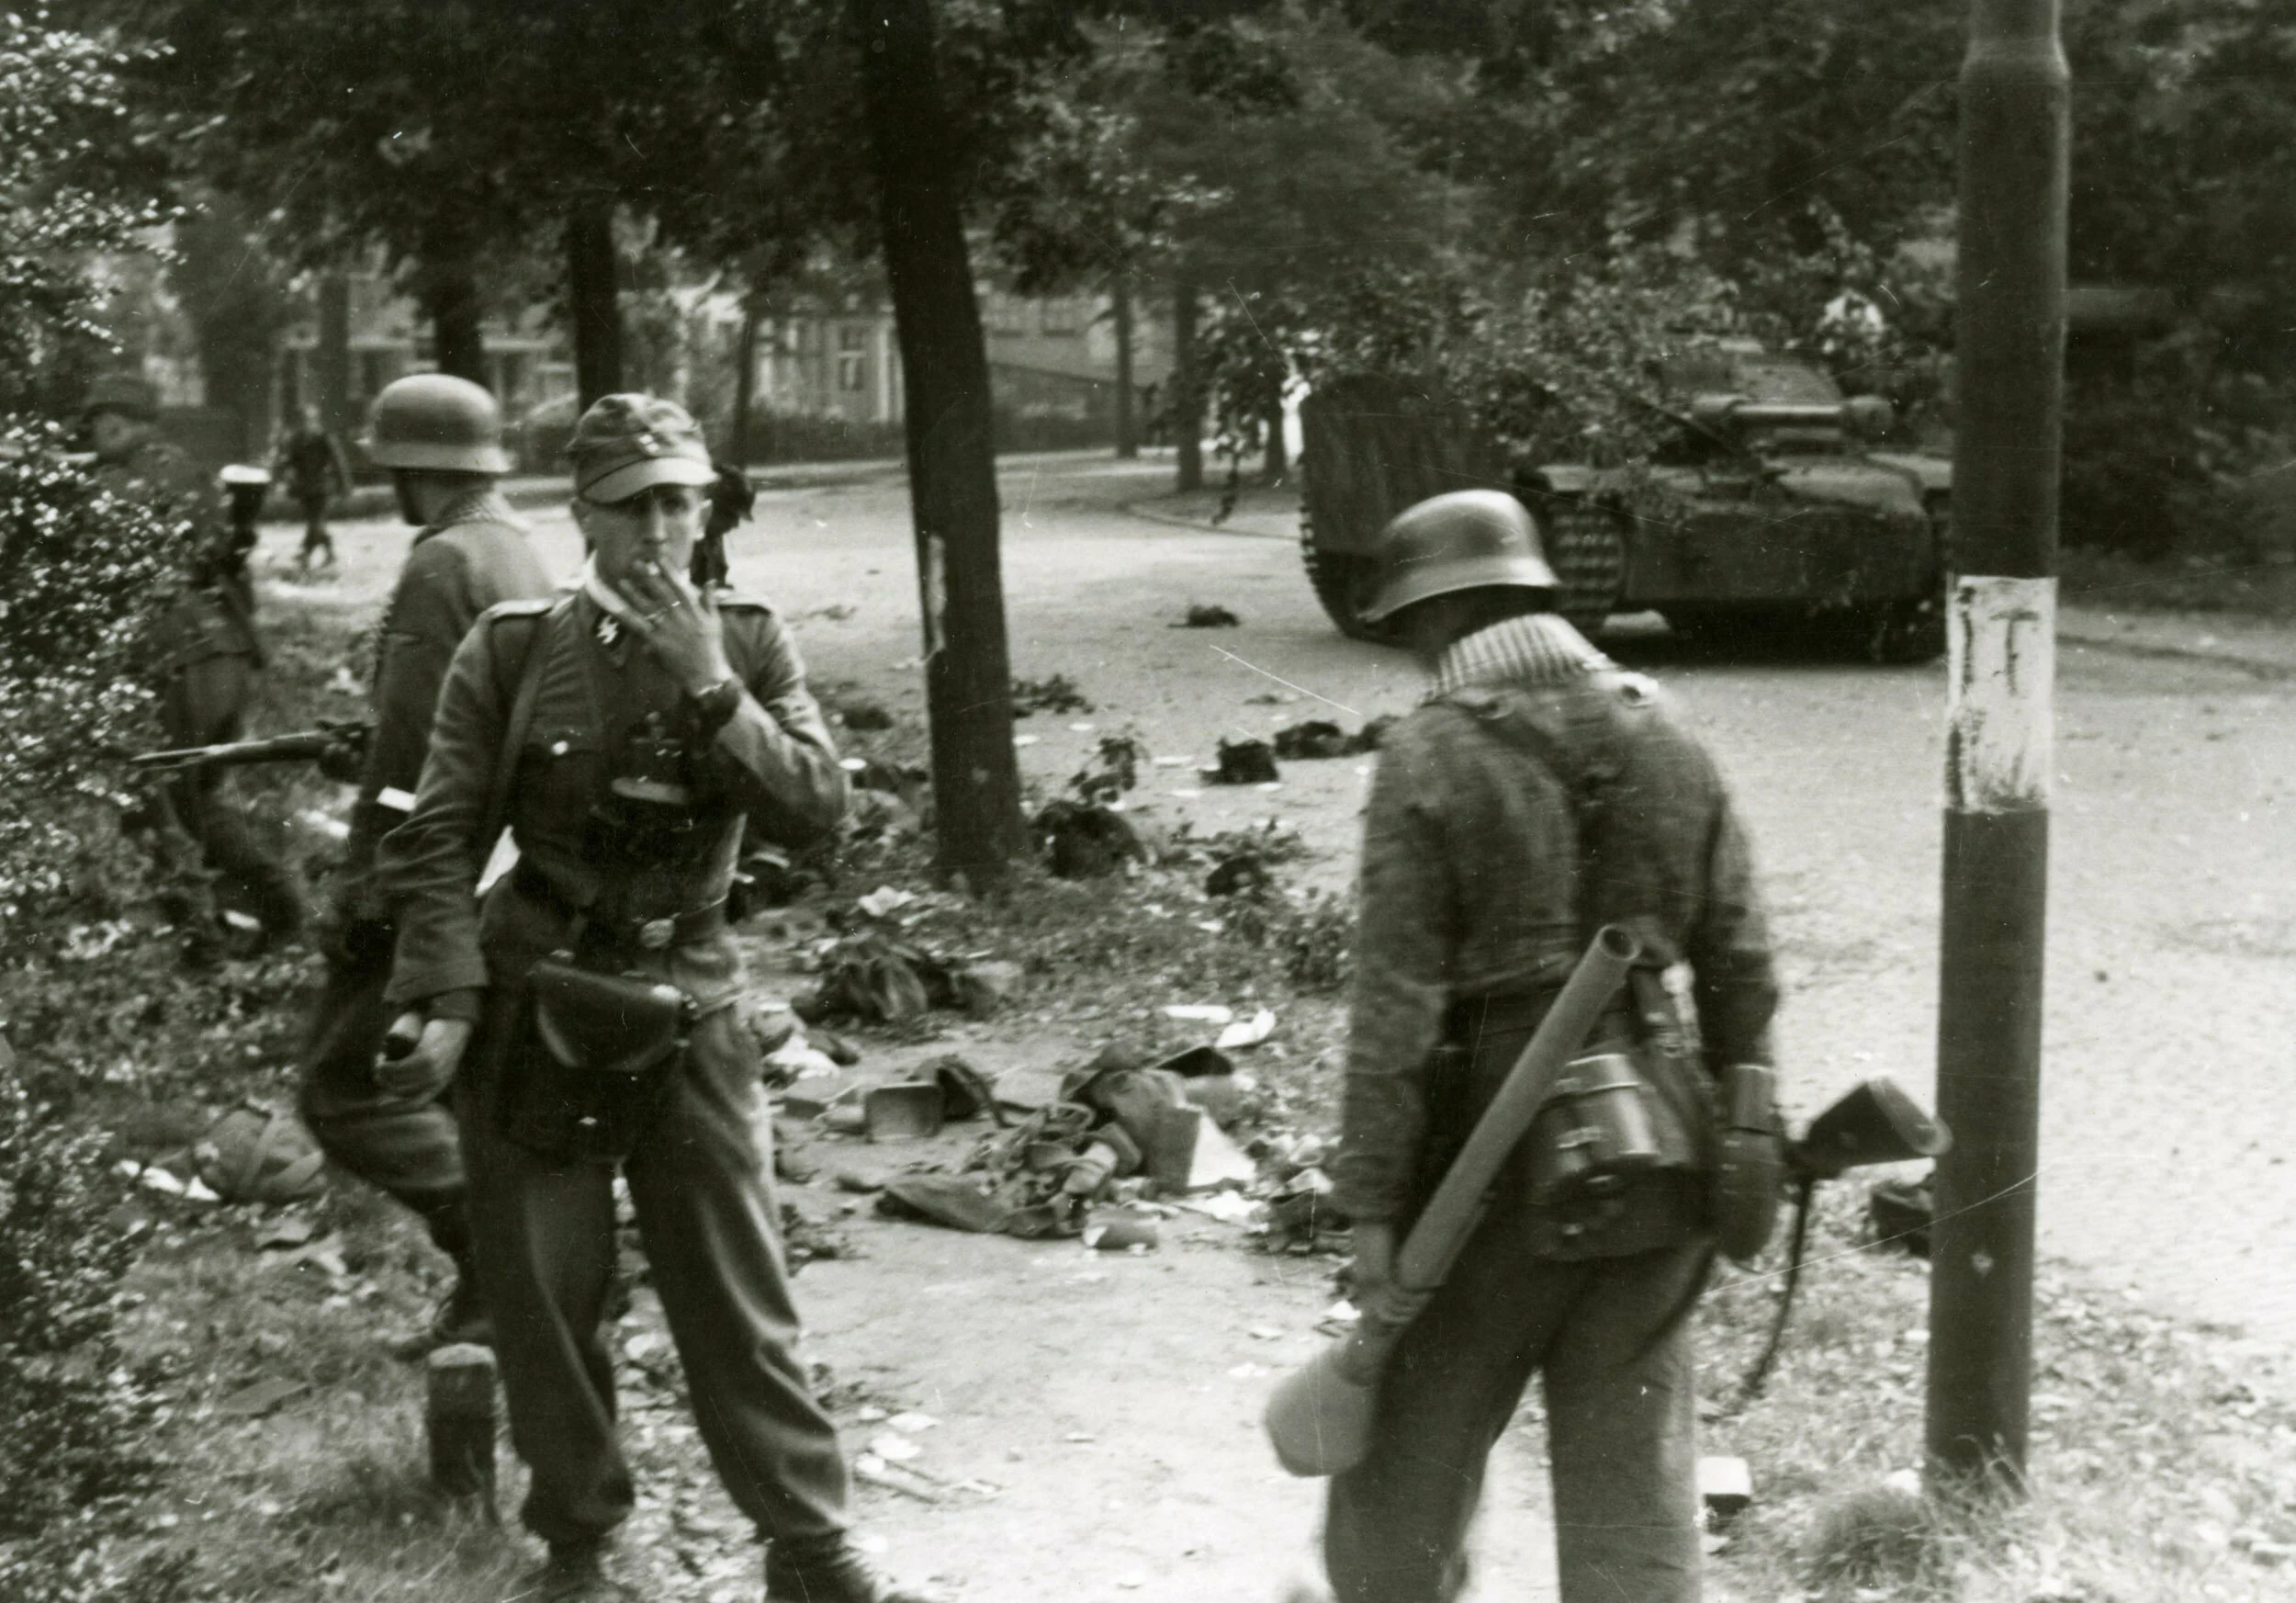
Waffen SS men on the streets of Arnhem, with a STUG passing in the background
In and around Arnhem, the British force remained split, with elements on the bridge itself and a concentration around the town of Oosterbeek where they had landed days earlier, both of which were under determined assaults by German forces. Attempts to link the two pockets were consistently unsuccessful, even after the landing of additional reinforcements in the form of the Polish paratroopers. Running out of ammunition, Major John Frost and his men prepared to concede the bridge and withdraw into Arnhem proper on the morning of 21 September, the same day that the gliders of the 1st Polish Airborne Brigade finally arrived to reinforce the British. A brief truce was organized subsequently when the makeshift field hospital nearby caught fire, with the wounded within, including Frost himself, taken prisoner by the Germans. Resistance in Arnhem would cease not long afterward.
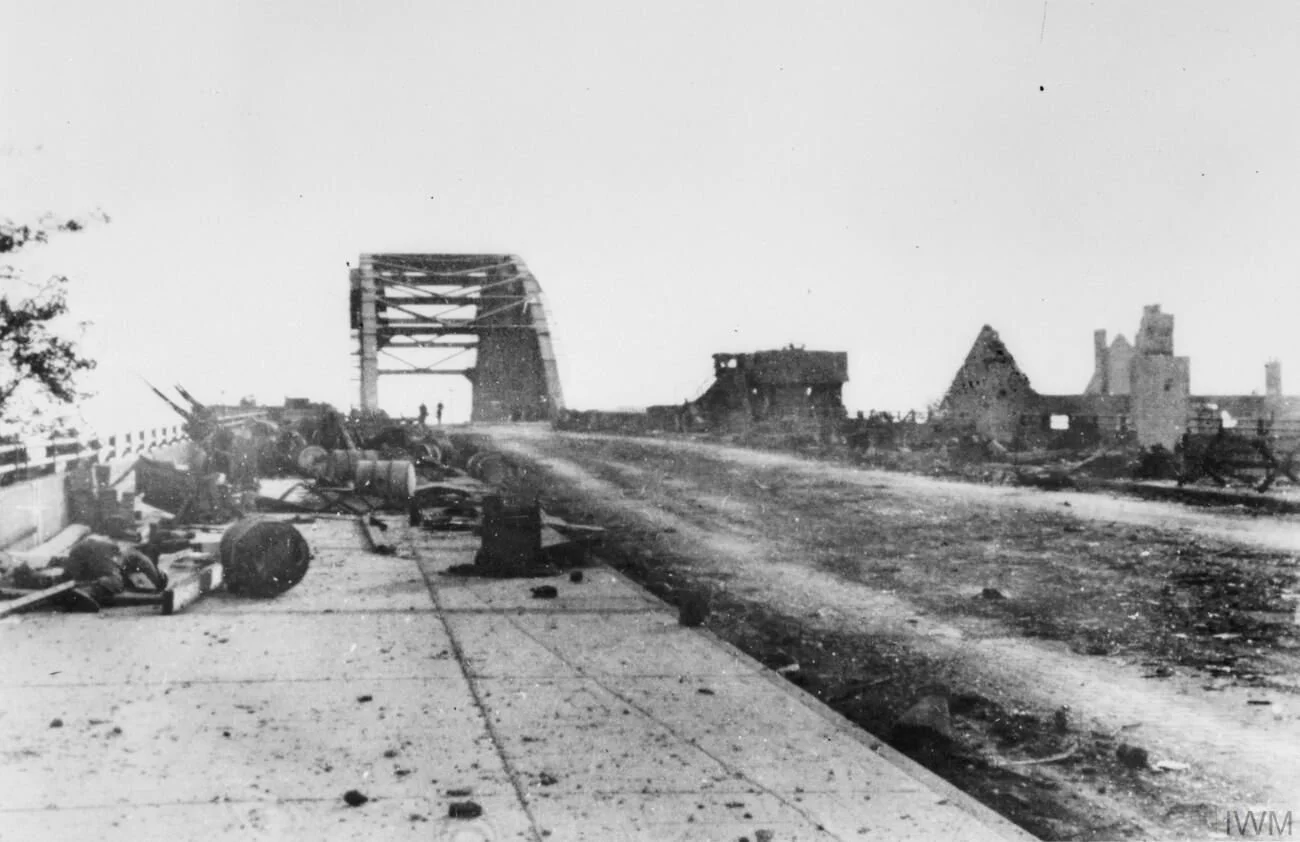
Arnhem bridge immediately after its recapture by the Germans
Despite the capture of the bridge at Nijmegen, the tanks of XXX Corps found themselves unable to penetrate the last twelve miles into Arnhem, with their narrow line of advance along Highway 69 obstructed by German armored units and concealed anti-tank guns. Panzer formations had managed to sever the Highway 69 artery near in certain places, with the narrow line of advance leaving long exposed flanks. With the collapse of resistance in Arnhem itself, their primary objective switched to reaching the encircled paratroopers at Oosterbeek, where the besieged defenders were enduring mounting German assaults. Poor weather also made it difficult for RAF and USAAF close air support missions, depriving the Allies of one of their most potent advantages.
British paratroopers move cautiously through a ruined building in Oosterbeek
By 24 September SHAEF had realized that Market Garden was unrecoverable, and set about stabilizing their lines along the Waal. On the morning of 25 September orders were issued for the British and Polish paratroopers to breakout to join with XXX Corps, abandoning their last positions on the far side of the Rhine. Fighting a delaying action, the evacuation commenced at dusk, and in the end just under a third of the original strength dropped on Arnhem managed to escape back to Allied lines. The remainder, over six thousand, had been taken prisoner. The British 1st Airborne suffered almost 1,500 dead during the disastrous Market Garden campaign, part of a total of over 17,000 total Allied killed, wounded or captured.

A German self-propelled gun passes an abandoned parachute near Arnhem
The Germans attempted to follow-up on this success with attacks against the Allied lines near Nijmegen. The hard-won bridge over the Waal was damaged by German combat divers on 28 September, and subsequent German attacks against the bridge saw bitter fighting but no change in the situation. Eventually, the destruction of the bridge at Arnhem rendered the Germans unable to supply their forward units, and the area was abandoned as Field Marshal Model’s armies withdrew in October.
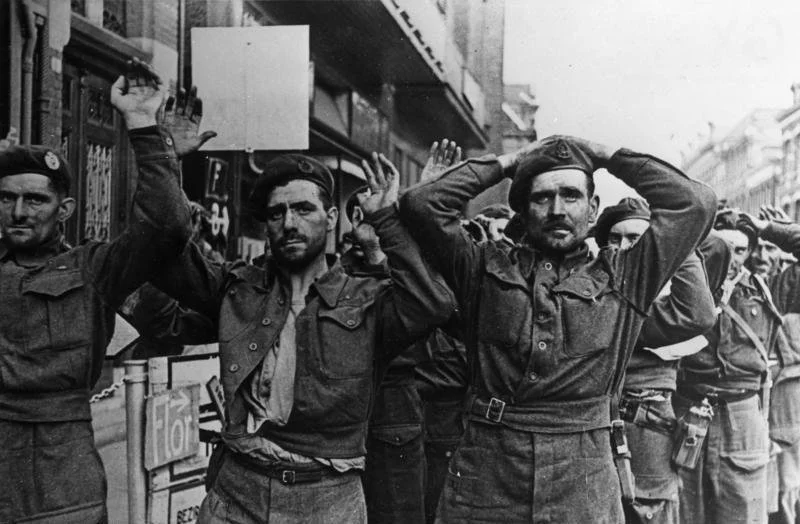
British paratroopers taken prisoner in Arnhem
In the end, Montgomery’s ambitious plan to thrust into the heart of the Reich and end the war in 1944 would end in disaster, as well as the last significant German victory of the Second World War, buying another half year for the dying Nazi state. With the planned thrust through Holland stymied, the western Allies would instead turn their attention to a direct invasion over the frontier, all while the Soviets in the east set their eyes on the final prize in the new year to come.
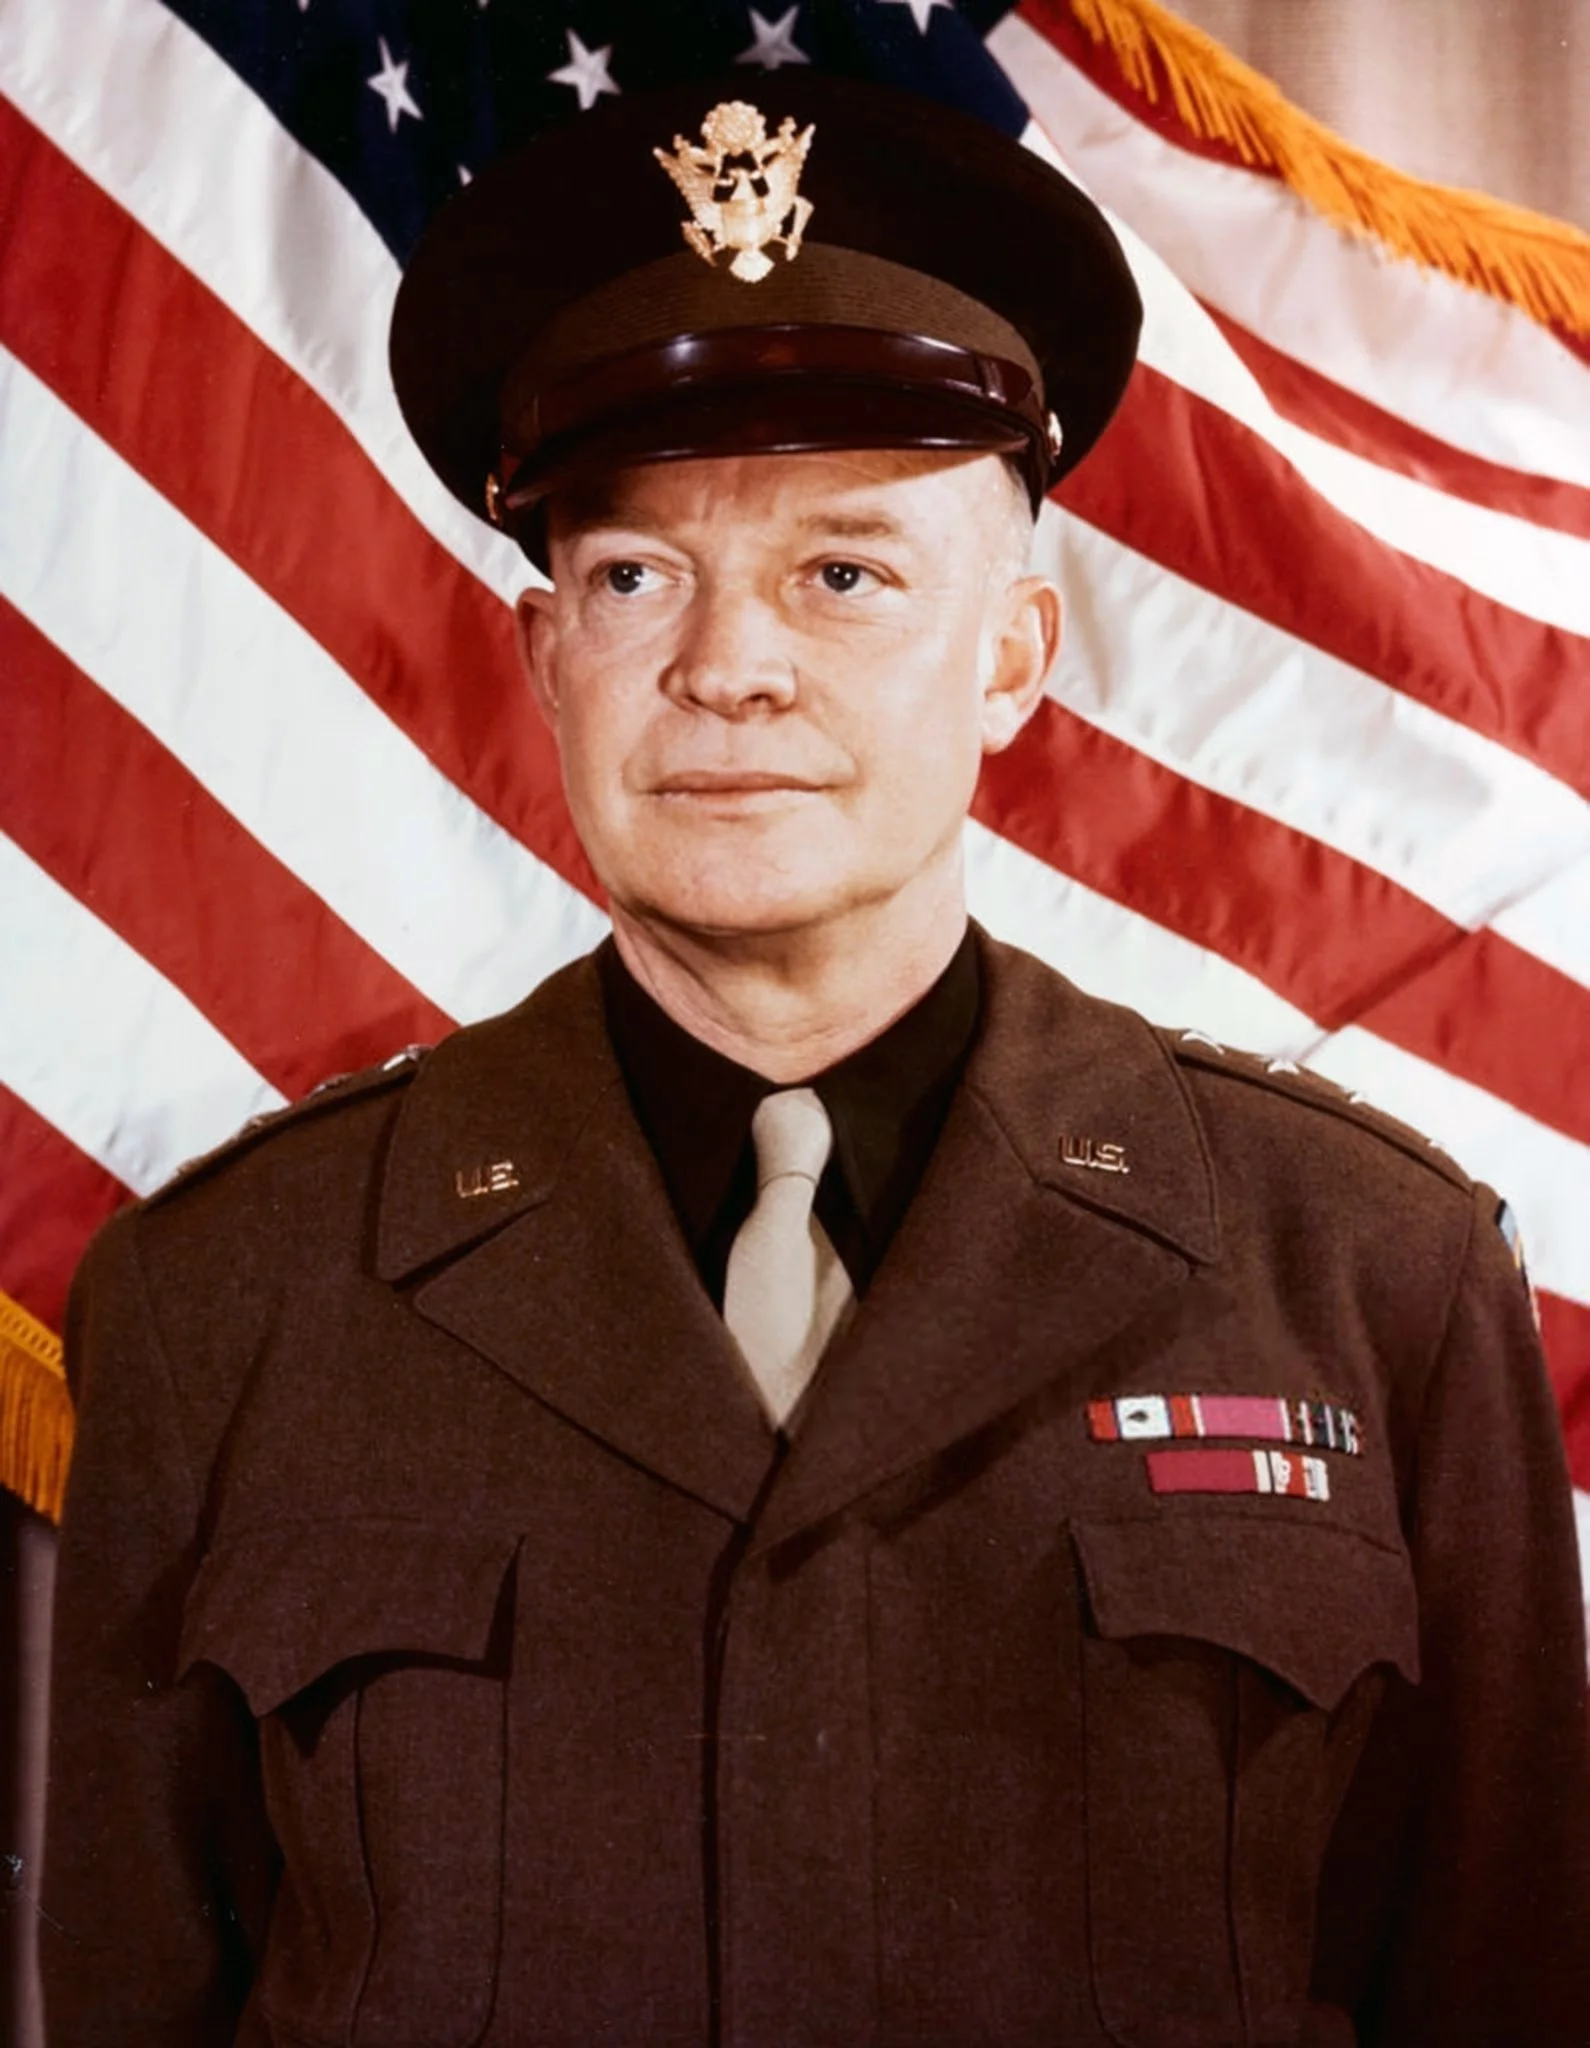
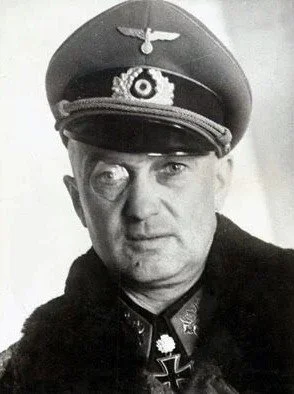
The Commanders